
- Top Trumpet Embouchure Techniques: Options for Beginners Through Professionals - October 12, 2022
- Is the Trumpet Hard to Learn? - September 30, 2022
- Best Leblanc Clarinet Models Guide: From Soprano to Contrabass - September 5, 2022
When I was a freshman flute player in college, I realized that I need to learn how to play the piccolo. One of my flute section mates played the piccolo on a few band pieces, so I got my hands on a beginner model.
In the past eight years, I’ve learned a lot about playing the piccolo well. If you want to expand your skills as a flutist, the piccolo is a natural next step.
Bottom Line Up Front: To play the piccolo, you need to know how to play the flute. You also need a good piccolo and some music to use to learn the instrument.
How to Play the Piccolo
If you’re a serious flute player or want to make it part of your career, you should know how to play the piccolo. Being able to play the piccolo can get you a lot of gigs you wouldn’t get otherwise.
In school, you may get into your university orchestra, even if you’re not the best flutist (which happened with me). As a professional, you can also make a name for yourself as a piccolo player.
But to make either of those things happen, you need to take the right steps. Some overlap with learning to play the flute, but the differences are crucial.
Learn the Flute First
You may be able to learn the piccolo without playing the flute. However, it’s going to be a lot easier if you already know the basics and have a good handle on playing the regular C flute.
I had played the flute for around two years or so before I first picked up the piccolo. Because I already know most of the flute fingerings and how to get a good sound, the piccolo felt much easier.
Also, the flute has a bigger embouchure hole. That means it’s more forgiving when it comes to forming your lips and directing your air into the instrument.
Practice the Upper Octaves
As you get ready to start playing the piccolo, use your flute to practice the second and third octaves. These notes will sound the same as the first and second octave notes on the piccolo.
Playing these pitches on your flute can help you figure out how you need to form your lips and blow into the flute. Then, when you pick up a piccolo, you can use what you learned to make playing a bit easier.
After you get a piccolo, you can play a first octave piccolo exercise on the piccolo but also in the second octave of the flute. For an example of this, check out Erica Peel’s Practice With the Experts – Piccolo.
Start with the Headjoint
When you first learned the flute, you may have started playing on the headjoint alone. This takes away the worry of holding the instrument and pressing keys.
It’s also an excellent strategy for beginning to learn the piccolo. You can’t do as much with the sound, like put your finger in the headjoint to change the pitch, since the piccolo headjoint is smaller.
But you can adjust your airstream to get higher or lower notes. Then, you can get an idea of what you’ll have to do when you add the body of the piccolo back on.
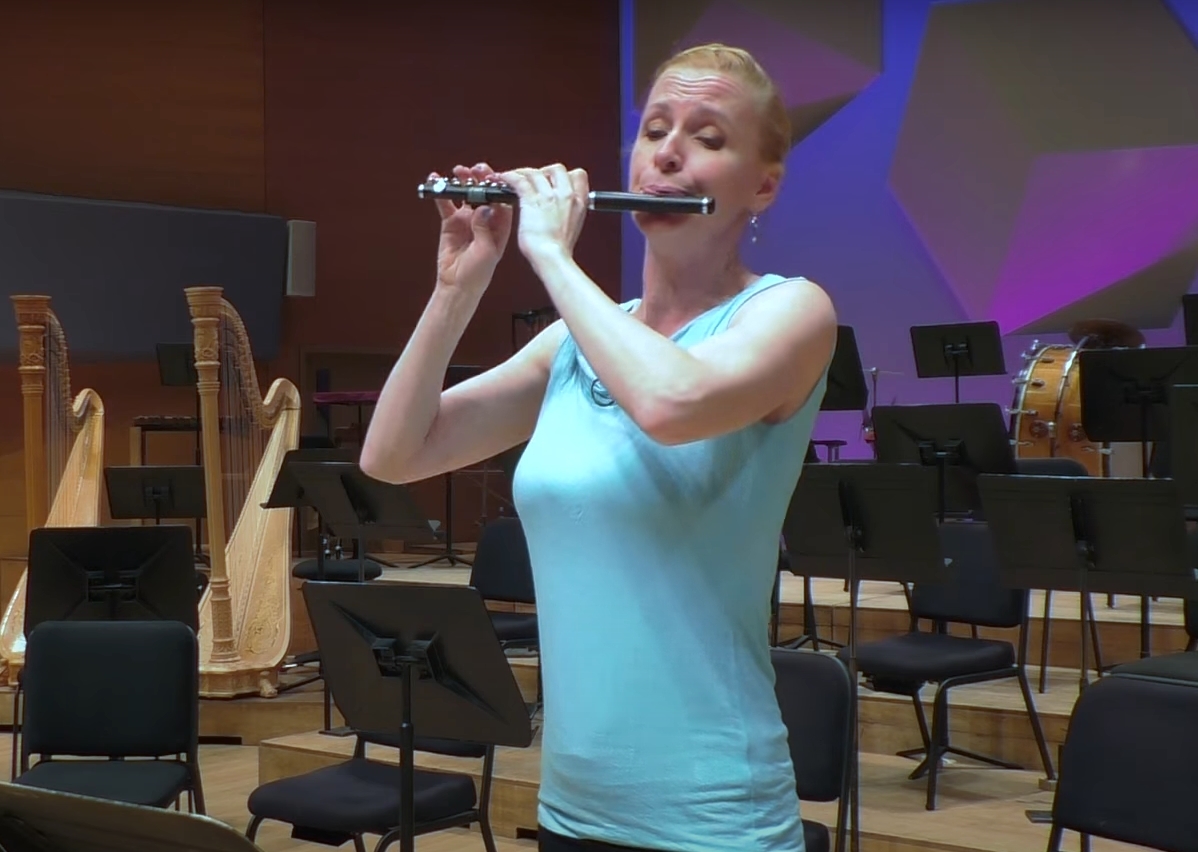
Work on Your Posture
The flute and piccolo require you to put your body in an awkward position. But you can work on your posture so that you have plenty of room to take full breaths and to keep from stressing your body too much.
One of my teachers told me about a painting called The Fifer. In it, there’s a boy playing the fife, but his posture in the image is a great example of how to position your head, arms, and even your legs.
I try to think of that painting, especially when I notice my right arm start to cave in. It can be easy to be lazy and rest your right arm against your side, but that can compromise your breathing and therefore your overall sound.
Use a Tuner
If you know much about the piccolo, you’ve probably heard at least a few piccolo tuning jokes. The piccolo can be hard to tune, but it doesn’t have to be.
I recommend printing out a fingering chart that has the written note and the main fingering for each note. Use a tuner to make sure your written A4 and/or A5 are in tune (the A in the staff and on the first ledger line above).
Then, use your tuner and play each note chromatically up and down. As you play each note, stop to mark a minus if the note is a bit flat or a plus if the note is sharp. Do this exercise any time you start playing a new piccolo to learn its tendencies.
Use that chart as a guide to help practice tuning individual notes as you play. Eventually, you’ll be able to manipulate the tuning, just don’t do anything drastic, like rolling the piccolo in or out. Use your air and lips instead.

Find Good Exercises
Of course, you’re also going to need some music or exercises to play. You can use some of the books and exercises you first used when you learned the flute, like the Rubank Elementary Method.
Using the materials you already have can help you save money if you aren’t sure if you’ll stick with the piccolo. But eventually, I recommend buying piccolo-specific books.
Some of the best ones are the Trevor Wye Practice Book for the Piccolo, The Piccolo Study Book, and The Mazzanti Method. You can also use the free download from Erica Peel that I mentioned earlier.
Consider Taking Lessons
You can learn a lot by studying piccolo on your own, but it helps to work with a private teacher. If you already take private flute lessons, ask them if they can help you with the piccolo.
Then, you’ll be able to divide your time between instruments to get guidance on each. I did this when I was in college and grad school, and it helped me work on the piccolo without sacrificing my flute skills.
Now, I know that private lessons can be expensive, and they can top $50 an hour in many places. A great alternative is the International Piccolo Flute Academy, which offers on-demand videos from multiple professional piccolo players.
It costs about 7 Euros per month, or $7.50 in the US, depending on the exchange rate. That’s a lot more economical for many players.
Buy a Good Piccolo
One of my biggest tips to help you play the piccolo well is to get a good instrument. The piccolo is so finicky that if you get a cheap, low-quality instrument, it can hold you back.
Even quality student piccolos may start to hold you back as you advance. So whether you’re a beginner or have some experience, you need a piccolo that suits your needs.
I recommend looking at brands like Yamaha, Pearl, and Jupiter for beginner piccolos. That way, you can get the quality and response you need to learn the instrument without worrying if the problem is you or your equipment.
Practice the Piccolo Regularly
After you get a piccolo and start to learn it, you need to practice it regularly. You don’t need to practice the piccolo for multiple hours a day, and you shouldn’t do that as a beginner.
However, you should work it into your schedule for at least 10 to 15 minutes a day. That’s enough time for you to learn a new note or skill or to review what you already know.
When scheduling your practice, it’s better to do smaller chunks every day than to do an hour once a week. If you go too long between piccolo practice sessions, you may lose some of what you learned the last time.
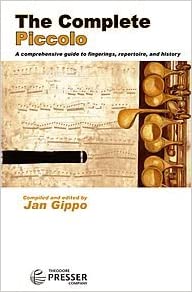
Study Alternate Fingerings
The flute and piccolo have some alternate fingerings that you use a lot. Examples include the three B flats and the middle-finger F#.
However, the piccolo has many more alternate fingerings to help correct the pitch or make fast passages easier to play. You can find some fingerings online, but I like using Jan Gippo’s The Complete Piccolo, which has a full list of options.
As you learn new music, consider if you need to use alternate fingerings. Then, incorporate those fingerings into your practice so that they’re as natural as the standard fingerings.
Join an Ensemble
Once you get a bit of experience playing the piccolo, you may want to play it with others. I’d recommend joining a flute choir, orchestra, or band.
These can be community ensembles, university groups, or professional ensembles. Either way, playing the piccolo alone is one thing, but playing with others forces you to practice and improve.
Sadly, most groups only have one piccolo player, but many groups have flute players switch off playing the piccolo. That way, more people get to play it on a concert.
Best Piccolos for Beginners
I love playing the piccolo, and a big part of that has been my access to excellent instruments. If you buy a piccolo that doesn’t suit you, getting a good sound will be that much harder.
Then, you may not like playing the instrument, and you can come to resent it. Fortunately, there are a lot of excellent beginner piccolos out there, but that can also be overwhelming.
I looked for piccolos from various brands and at different price points. Some of the models I’ve played myself, while others I know other players have liked.
Here are some piccolos to consider when shopping for your first one.
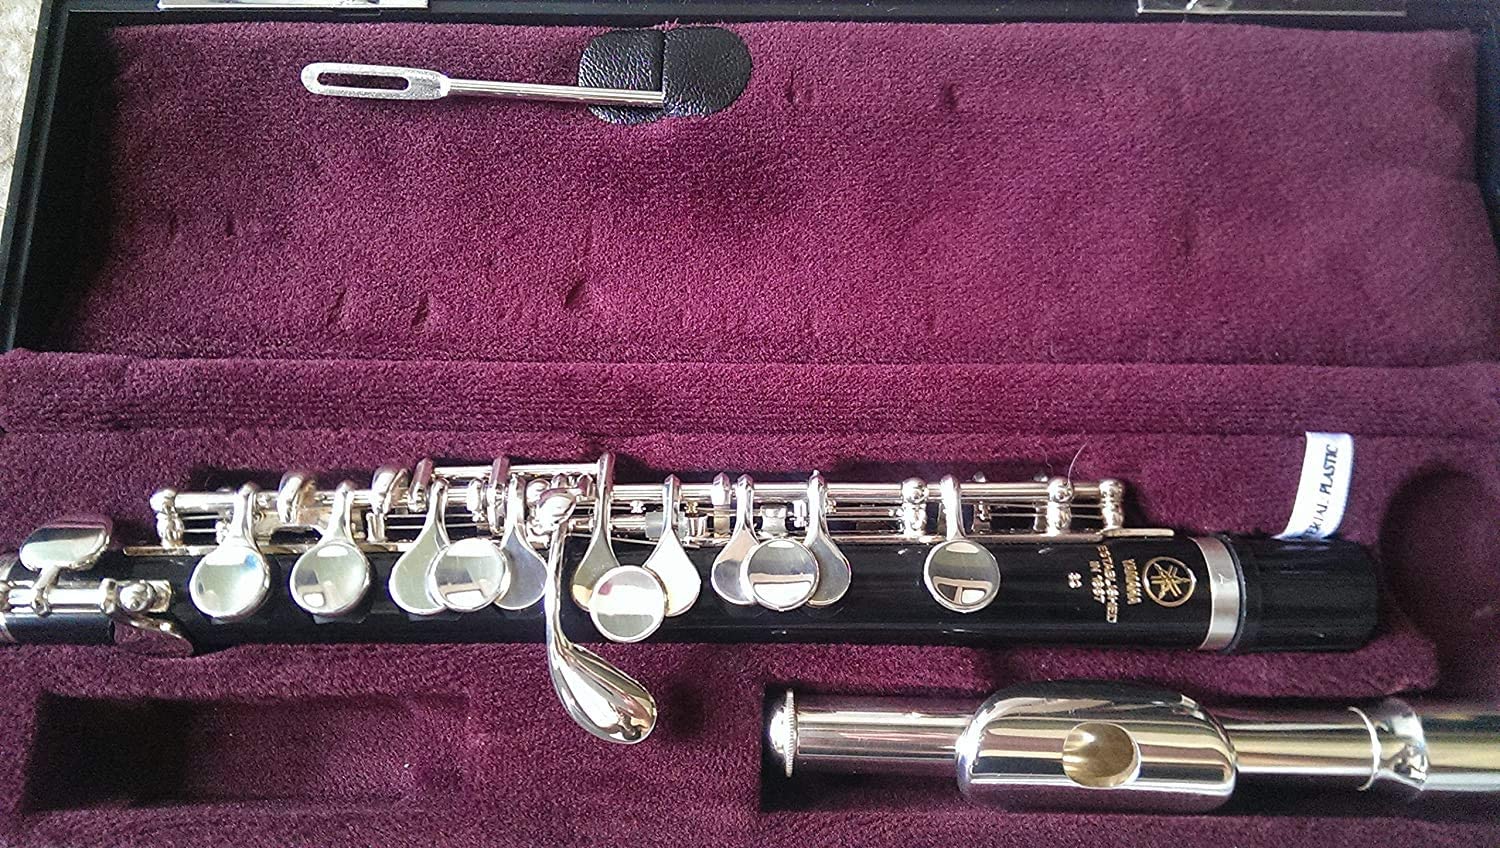
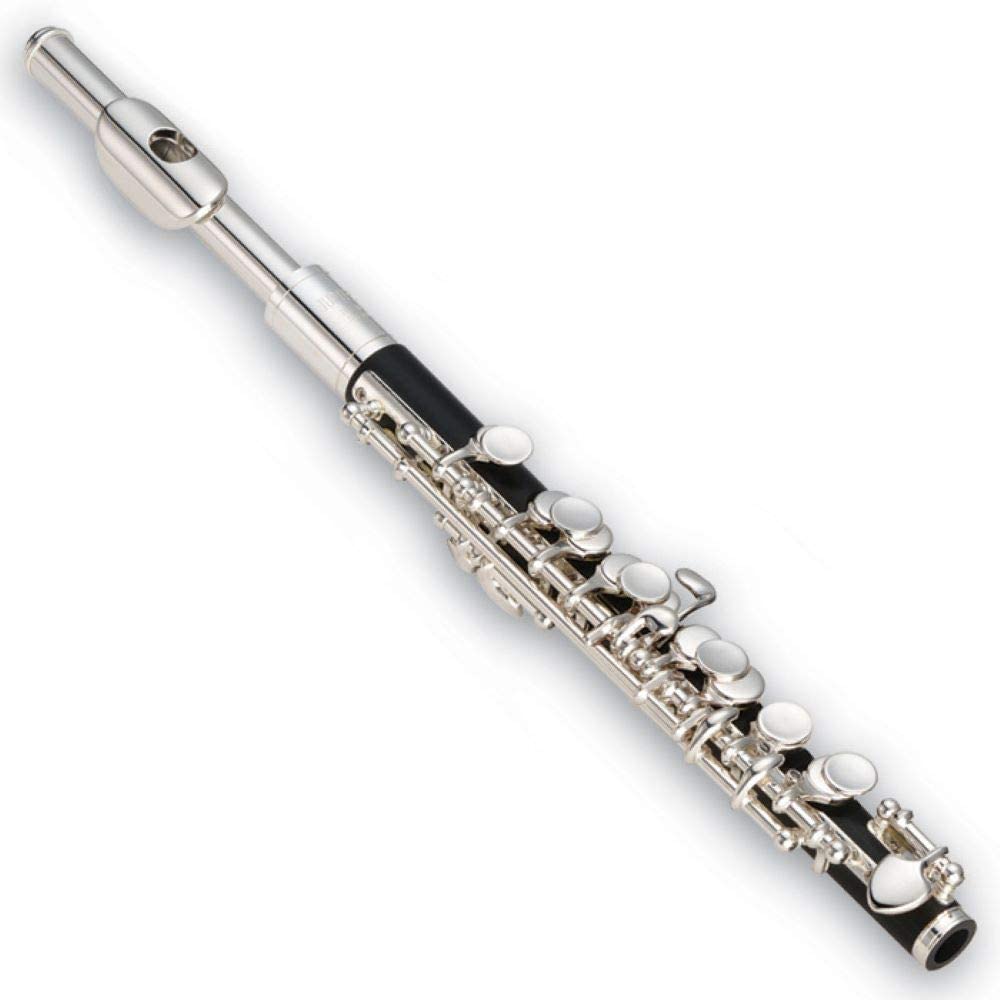
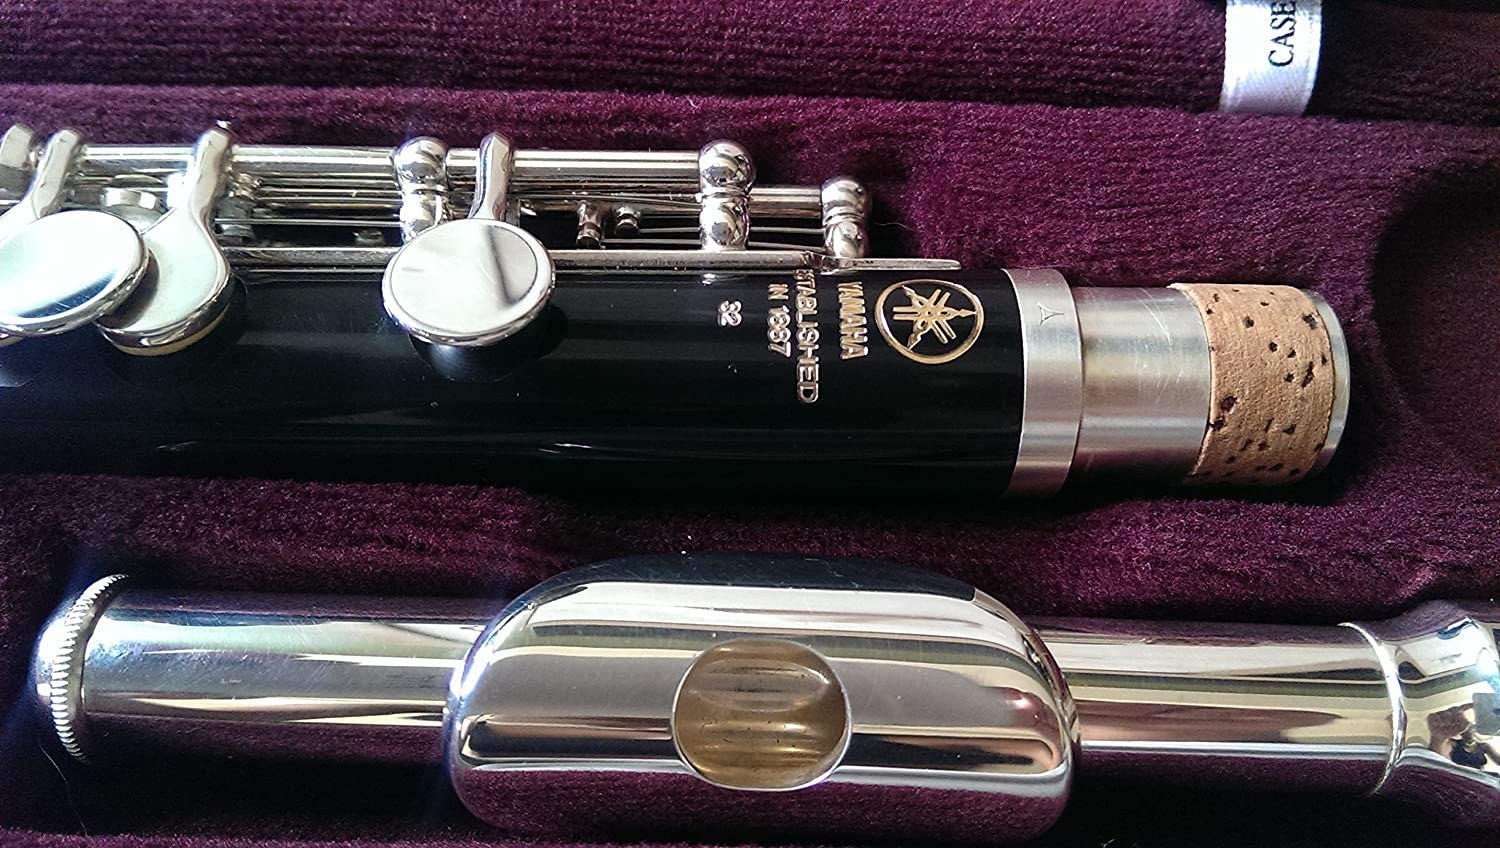
Yamaha YPC-32

The Yamaha YPC-32 is one of the most popular beginner piccolos on the market. I haven’t played this model, but a few of my studio-mates used it in marching band during college.
They sounded great, and this piccolo was a perfect addition to the ensemble. You can get a good sound due to the plastic body and metal headjoint, which helps project the sound.
Meanwhile, the plastic keeps the sound somewhat warm for blending with other instruments. I like that it has a lip plate to help you learn the piccolo, and it has a split E mechanism to help play the high E.
I’d recommend this piccolo for students who need a good instrument that can support them for a while. However, you’ll need a decent budget since this is one of the more expensive options I found.
Pros
- Easy to play
- Sounds great
- Tunes nicely
- Blends well
- Good materials
Cons
- A bit expensive
- Not the best for orchestra
Armstrong 204

When I first started the piccolo, I learned on an Armstrong 204. This is an all-silver-plated piccolo, and that includes the headjoint, body, and keys.
I’ve heard that some marching band directors require that type of piccolo so that it matches the flutes. I used this piccolo during a couple of years of college marching band, and it held up well.
However, it’s not the best for playing in an orchestra because it sounds a bit shrill. Still, I kept it as a backup instrument for when I can’t use either of my two better piccolos.
I like that this piccolo has a cylindrical bore, which is the same as on a flute. That can make it easier to switch to when you’re a beginner or casual player.
Pros
- Cylindrical bore
- Easy to play
- Projects well
- Great for outdoor playing
- Available used for much cheaper
Cons
- Expensive when new
- A bit shrill
Jupiter JPC1000
Another plastic piccolo with a metal headjoint is the Jupiter JPC1000. While I haven’t played on this model, I know Jupiter makes great piccolos for beginners.
This is a nice alternative to the Yamaha, but it’s not much cheaper. I love that it doesn’t have a cork on the tenon, so you don’t have to use cork grease to keep the tenon easy to assemble and disassemble.
It’s another good piccolo for marching band or any student ensemble. You can also use it as a more advanced player if you don’t have the funds to upgrade.
Pros
- Easy to play
- Nice response
- No tenon cork
- Good for outside
Cons
- Somewhat expensive
- Not the best for serious players
Jupiter JPC1010
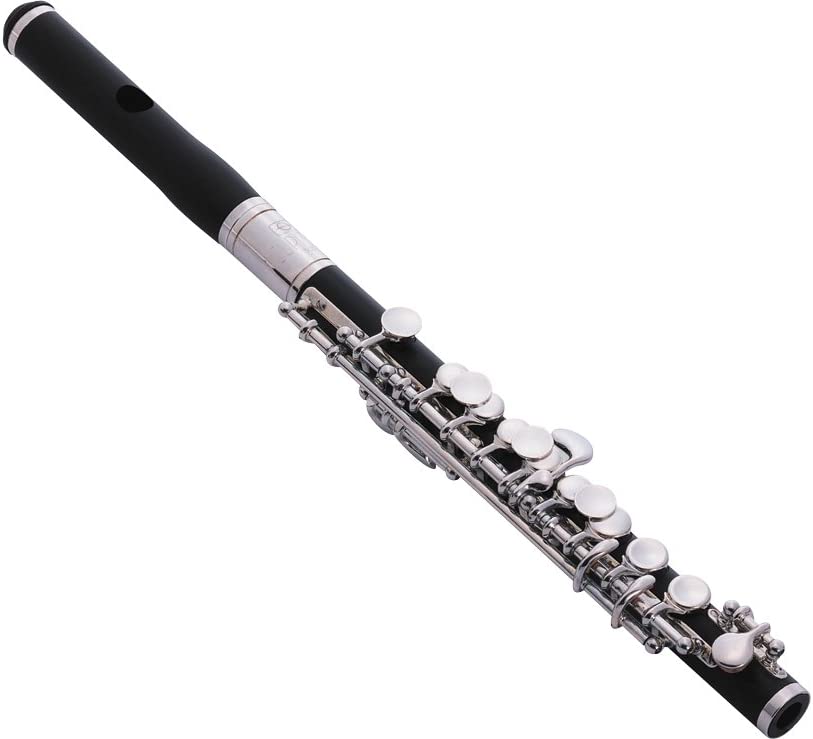
The Jupiter JPC1010 has both a plastic headjoint and a plastic body, so it’s a versatile choice. Plastic is great for playing outside since you don’t have to worry about maintaining wood.
However, the plastic is a bit easier to use to blend than on a metal piccolo. You will need to get used to playing without a lip plate, but that isn’t as hard as it may sound.
Like the other Jupiter, this piccolo doesn’t have a cork on the body tenon. That makes it a nice option as a future backup piccolo since no cork will dry out in storage.
Pros
- Good sound
- Easy to play
- Blends easily
- No cork on the tenon
Cons
- No lip plate
- Slightly expensive
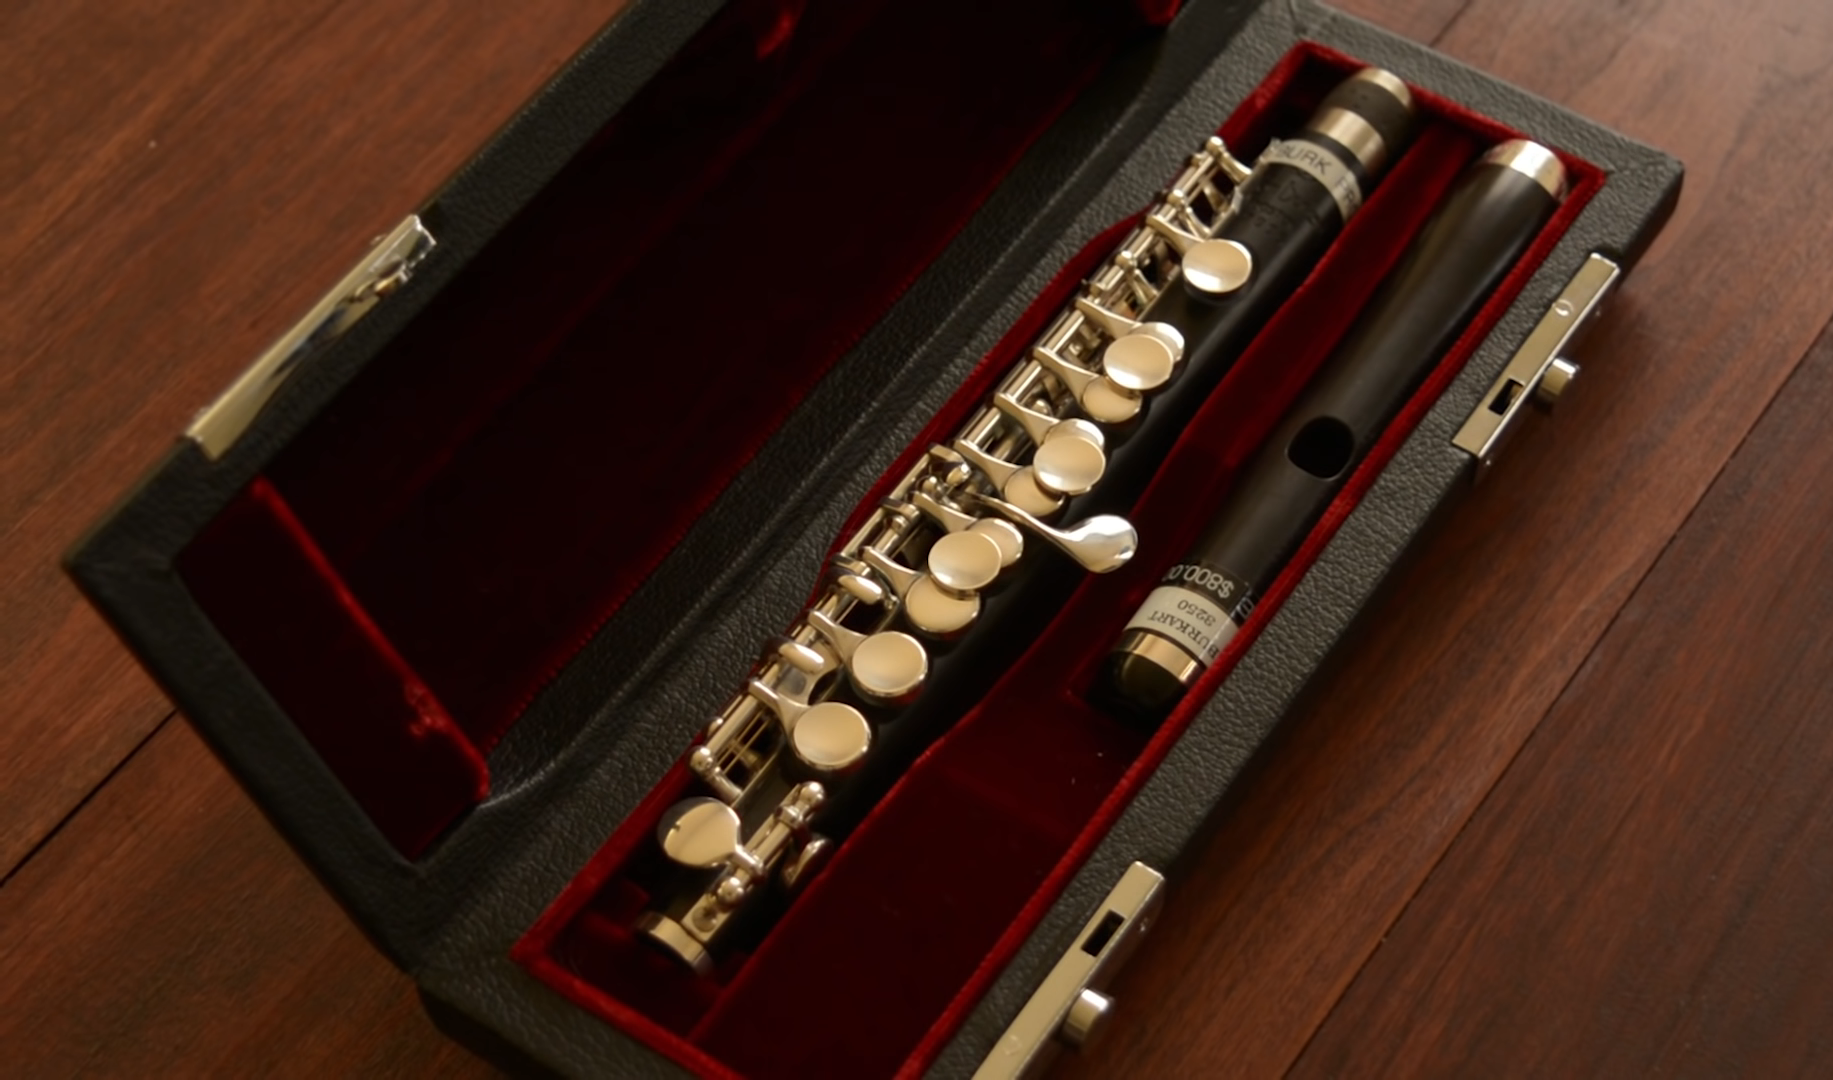
Pearl 105
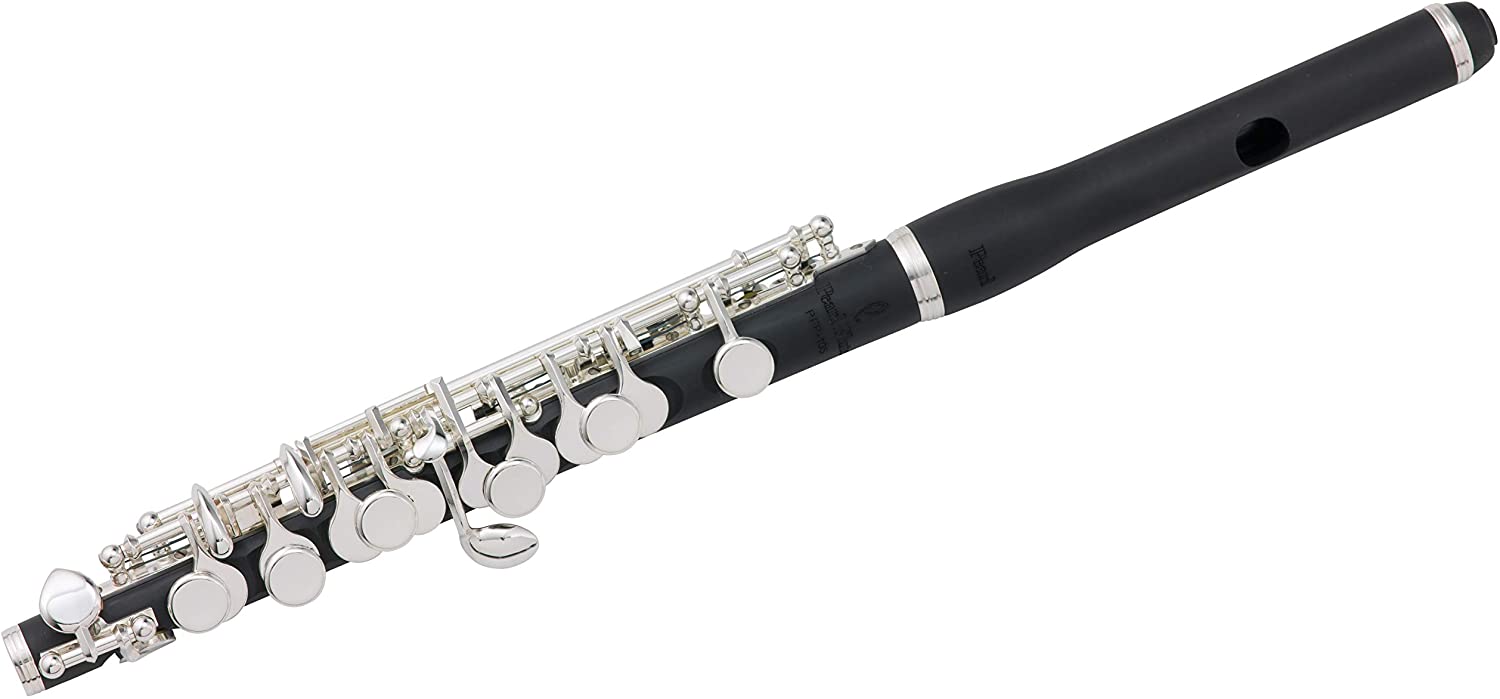
After playing my Armstrong for a few years, I upgraded to the Pearl 105. However, this composite model also makes for a fantastic first piccolo.
I love that it features a split E mechanism to help you play the third octave E. It also comes with either a traditional or wave headjoint, and I went with the wave cut to help direct my air into the piccolo.
The piccolo uses grenaditte, which comprises grenadilla wood and plastic. That means you get the warmth of a wood piccolo without all of the maintenance requirements.
Plus, the case has spots for two headjoints, so you can eventually upgrade to a wood head to sound better.
Pros
- Great sound
- Easy to play
- Different headjoint cuts
- Ready to upgrade
Cons
- Pretty expensive for beginners
- Low notes are a bit tough
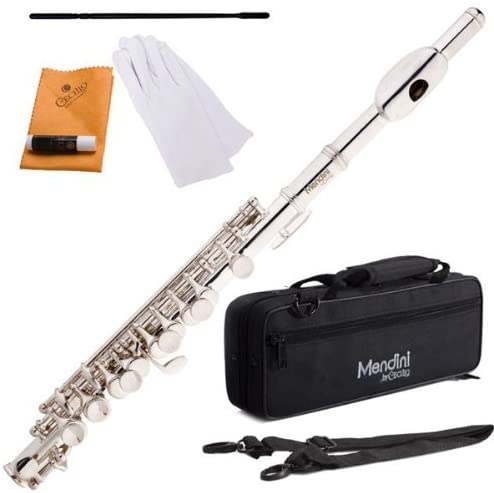
Mendini MPO-EN
If you have to go with a super cheap piccolo, I’d recommend the Mendini MPO-EN. I just got to try it for the first time, and it sounded better than I expected.
This model features a plastic body and a metal headjoint. To get a good sound, you have to push the headjoint in all of the way, but it can be hard to remove the headjoint since you can’t get the best grip on the metal.
I like that the case comes with a spot for an extra piccolo headjoint, though. So you could get a wood headjoint to help improve the sound a bit.
There’s also a split E, which some models don’t have, like the Armstrong 204. The case also has an outside pocket to store a cleaning cloth, and it comes with a shoulder strap.
Pros
- Affordable
- Protective case
- Comes with accessories
- Great for a small budget
Cons
- Thin tone in the low register
- Not for serious students
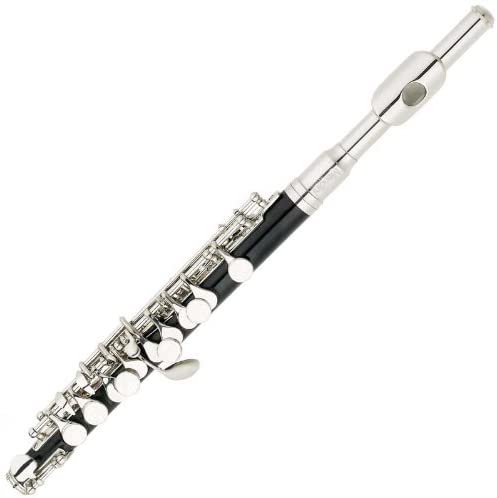
Mendini MPO-S
Another cheap piccolo to try is the Mendini MPO-S, which has a silver-plated headjoint and body. It comes with a case, cleaning cloth, cleaning rod, and cork grease, but you don’t need the cork grease for this model.
I’d also toss the gloves that come with this and the other piccolo. You need to be able to feel the keys, and all of the woodwind players cut off the tips of their gloves for marching band to make playing easier.
I do like that this is an all-metal model, so it’s nice for marching band. It’s especially useful since other models with these specs cost much more, so you don’t need a huge budget for your outdoor instrument.
While I haven’t played this specific piccolo, I imagine it’s similar to the Armstrong in terms of the response. Be sure to give it a try if you need a metal instrument.
Pros
- All silver-plated
- Has a hand rest
- Comes with accessories
- Affordable
Cons
- Not the best quality
- Not for serious players
What to Look for in Your First Piccolo
I have now bought four piccolos and have tried many more. After eight years of playing the instrument, I’ve learned a few things about how to choose a piccolo.
When you’re buying your first one, you especially need a good instrument. If you want to make playing the piccolo easier on yourself, consider the following tips.
Avoid Wood
My biggest tip for beginners is to avoid wood piccolos, at least for now. Wood piccolos are very expensive, and they start at $1,500 and can exceed $19,000.
Other materials, like metal and plastic, tend to be more affordable. Also, you need to know how to take care of a wood piccolo to reduce the risk of cracks.
Metal and plastic piccolos are easier to maintain, so you can focus more on learning to play the instrument. After a while, you can upgrade to a wood piccolo to get a warmer tone.
Easy Response
If you have to work hard just to get a sound out of the piccolo, you have the wrong instrument for you. Good piccolos won’t require you to use a ton of tension just to play.
You’ll need to use a good embouchure, but the response should be pretty natural. Think about how your current flute feels to play, and look for a similar response when trying piccolos.
Then, you can determine if the piccolo you buy will be easy to play day-to-day. If it’s not, you need to buy a different piccolo.
Affordable Price
As a beginner, you may not have a ton of money to spend on a piccolo. Some good models cost around $1,000, so a budget like that is more than enough for your first model.
You may be able to save money and get a used instrument. That’s what I did, and my parents (who bought it as a gift) paid less than a third of what the Armstrong 204 costs new.
If you can’t find any used piccolos, the Mendini models can help you get started. Once you decide that you’ll continue to play the piccolo, you can upgrade to something better.
Playing Condition
When you buy a new piccolo, you can reasonably expect that it will play right out of the box. However, you do need to think about the condition when buying a used instrument.
If you go through a music store, many stores will perform necessary maintenance before selling the piccolo. But when you buy from an individual, you don’t have that guarantee.
Be sure to try the piccolo before you purchase it to make sure it will work. Or if it doesn’t, you’ll know to budget for repairs to get the piccolo playing again.
Offset Keys
Some piccolos have offset G, E, and D keys. These are nice because they can help you form a more comfortable hand position when playing.
My Armstrong 204 has an inline G, which can be hard to reach with your left ring finger. The other piccolos I have all have an offset G, so your left hand doesn’t have to stretch.
On the other hand (pun intended), the Pearl piccolo has an offset E and D key. That means your right hand doesn’t have to squeeze together so hard to close the keys.
Think about the size of your hands and the length of your fingers. If possible, try piccolos with different combinations of offset keys to find a comfortable instrument.
FAQs about How to Play the Piccolo
Answer: The piccolo can be hard to play, particularly for beginners who need to learn the embouchure and tuning. But like other instruments, it will get easier with practice.
I’m at the point in my piccolo playing life where I can pick up my piccolo and get a good sound easily. However, it took years to get to this point, so stick with it if you like the piccolo.
Answer: You can teach yourself the piccolo, but I wouldn’t recommend it. If possible, take at least one or two private lessons or do a month of the International Piccolo Flute Academy.
Then, you can learn the basics to help you practice on your own. Another option is to use books, articles, and YouTube videos to teach yourself, but you’ll need discipline to keep learning.
Answer: Learning the basics of the piccolo may only take a few months. However, mastering the instrument can take years or even decades.
The speed at which you learn also depends on how much you practice and how good you are at the flute already. If you practice efficiently, you can make good progress pretty quickly.
Answer: I’ve seen some piccolos, like those by Mendini, that cost around $100. However, I’ve also seen piccolos from Powell and similar brands that cost $19,000.
Beginner piccolos tend to fall at the lower end of that spectrum. When you’re ready to upgrade, you may need closer to $2,000 to $6,000 to get the right piccolo for you.
Answer: If you aren’t sure if you want to play the piccolo, renting is a good option. When you’re in school, you may be able to rent a piccolo from the university or through your professor.
Individual private teachers may also rent out extra piccolos they have. Another option is to go through Music & Arts, a national music store chain that has a rental program for piccolos and other instruments.
Final Note on How to Play the Piccolo
Learning how to play the piccolo is an excellent decision for many flute players. But that doesn’t mean it’s easy to play the smaller flute.
I’d recommend getting the best instrument you can afford and taking a lesson or two. Then, you can set up a realistic practice schedule to help improve your skills.
For more interesting readings check out: